README
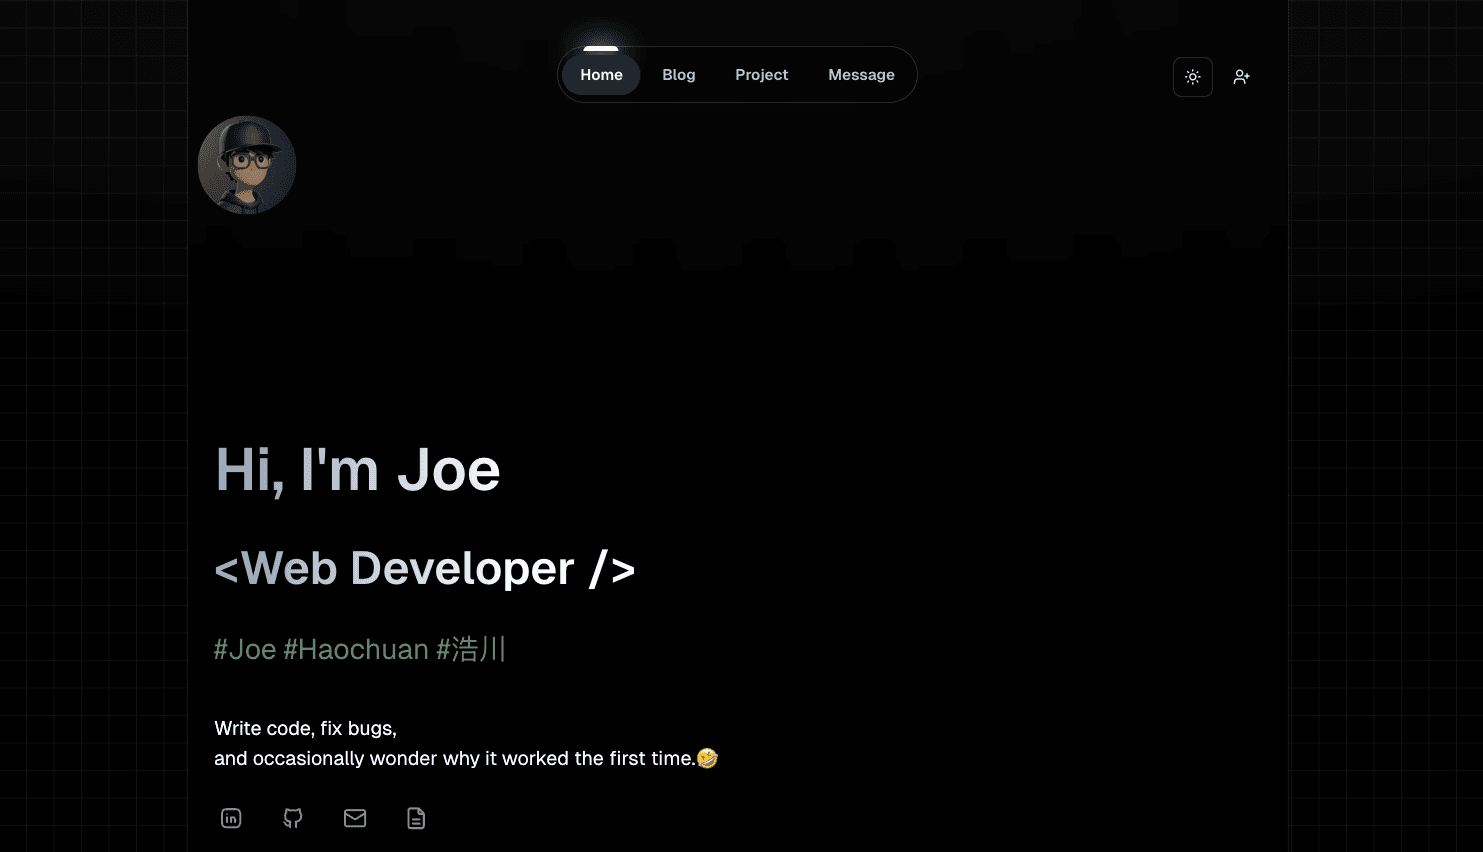
Author | Joe
Published 6 months ago
⚙️ Tech Stacks used in this portfolio project
- Framework: React + Next.js
- Programming Language: TypeScript
- Styling: Tailwind CSS + Shadcn UI + Lucide Icons
- Icons: Lucide + Tabler
- Animation: Framer Motion
- HTTP Client: Axios
- Database: Supabase
- ORM: Prisma
- Cache: Redis
- CMS: Sanity
- Authentication: Clerk
- Deployment: Vercel
💡 Get Started
Environment
- Next.js v15.2.1
- React v19.0.0
- Node.js v20.15.0
These versions are only used in this portfolio project, which does not mean that you must strictly follow these specific versions to configure the project.
Clone the repo
git clone https://github.com/joyjoy998/joechow.me.git
And then the most convenient way is drag the folder to VS Code, switch to non-sanity branch and enter the following command in the terminal.
Install Dependencies
npm install
And then npm will download and install all the dependencies listed in your project's package.json file.
.env file
Create .env file to store sensitive infomation such as API keys, database credentials, and authentication tokens.
# clerk
NEXT_PUBLIC_CLERK_PUBLISHABLE_KEY=
CLERK_SECRET_KEY=
# supabase
DATABASE_URL=
DIRECT_URL=
#sanity
NEXT_PUBLIC_SANITY_PROJECT_ID=
NEXT_PUBLIC_SANITY_DATASET=
# upstash redis
UPSTASH_REDIS_REST_URL=
UPSTASH_REDIS_REST_TOKEN=
NEXT_PUBLIC_SITE_URL=''
And let's set up all the environment variables accordingly.
Clerk
- Go to Clerk and create a new application. You can set your preferred login method.
- Then go to Configure page and in API keys field copy and paste keys to the .env file.
Supabase
- Go to Supabase and create a new project, and you need to remember the database password which will be used in prisma setting.
- Then click the Connect button at the top left of the page and jump to ORMs and choose the Prisma Tool, here you will find the template .env file like that:
# Connect to Supabase via connection pooling.
DATABASE_URL="postgresql://postgres.ajyqnfusadwqeadfhbach:[YOUR-PASSWORD]@aws-0-ap-southeast-2.pooler.supabase.com:6543/postgres?pgbouncer=true"
# Direct connection to the database. Used for migrations.
DIRECT_URL="postgresql://postgres.ajyqnfusadwqeadfhbach:[YOUR-PASSWORD]@aws-0-ap-southeast-2.pooler.supabase.com:5432/postgres"
You must notice that you should convert your db pwd using percentage-encode special characters (You can convert your pwd following the guide)
3. After all set, enter the following command in the terminal:
npx prisma db push
Sanity
1. Go to Sanity, register an account and create a project to get project id and dataset name, put them on .env file, and then you can follow the guide in Getting started.
After you enter the following command in terminal:
npm create sanity@latest -- --project [YOUR PROJECTID] --dataset [YOUR DATASET_NAME] --template clean --typescript --output-path [YOUR PROJECT_NAME]
2. It will ask you serveral question, in the first question, if you want to quickly set up the environment, please say NO to Would you like to add configuration files for a Sanity project in this Next.js folder? And other questions are depend on you.
3. And then you create the schemaTypes within your sanity studio, put the "index.ts", "blogType.ts", and "projectType.ts"(from a folder named sanity) in this folder. If you are confused here, please check the Getting started guide in sanity website which will solve your questions.
4. After all done, cd your studio, and npm run dev. Now you can add and edit your project and blogs in localhost:3333.
Upstash Redis
- Go to Upstash Redis, register an account and create a database.
- And then within your database, you can find the .env in the Restful API Part after scrolling down the page.
- Copy them and paste to your .env file.
Something may be noticed: I use redis to store my leetcode tracker data, if you also want to achive that, go to /app/api/leetcode/get and replace with your leetcode name.
Run the server
Now we can run the portfolio website:
npm run dev
Please run it at localhost:3000 if possible. And if you want to use another port, you can re-assign it in /src/lib/apiClient.ts